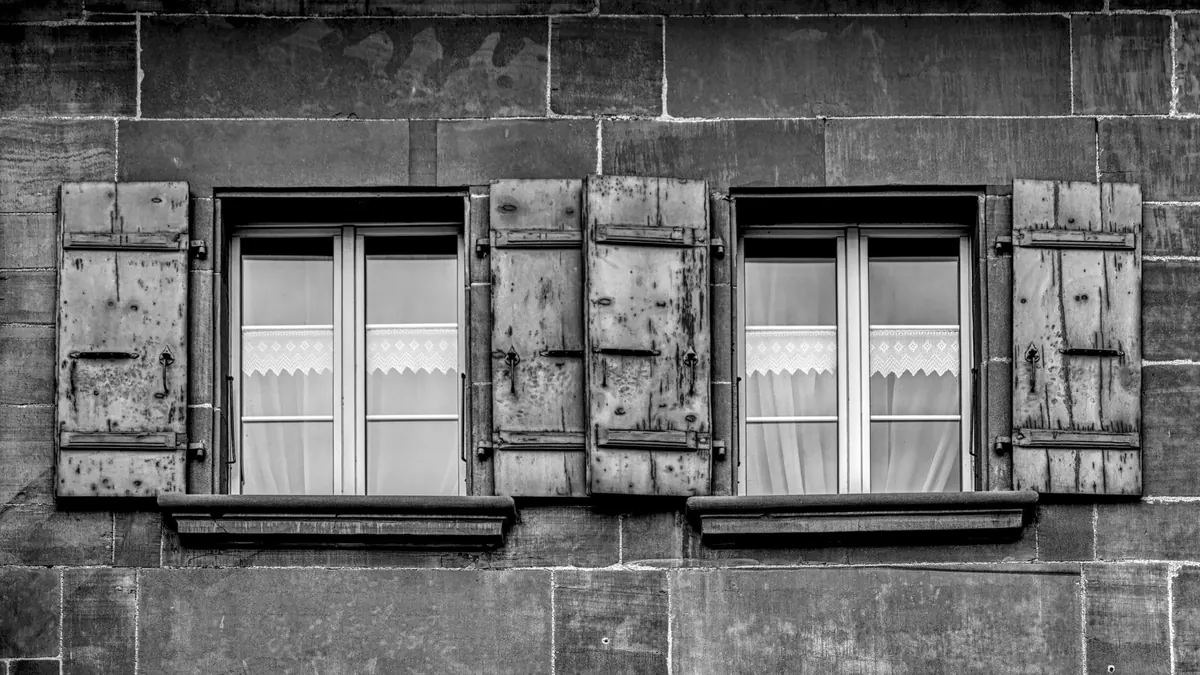
Original window trim is often the best thing about a historic house, and the first thing most window treatments cover up. A deep casing, a wide apron under the sill, a curved molding profile — all of it vanishes the moment someone mounts a rod two inches above the frame and hangs a heavy panel over it. The loss is not just visual. Screws driven into old-growth wood can split a casing that has survived for a century, and a heavy valance can trap moisture against a window that already struggles with condensation.
You do not have to choose between privacy and preservation. With a few measurements, an eye on the era of the house, and hardware chosen for the window rather than the trend, old windows can be dressed so the woodwork still reads as the feature it is.
Before you shop, spend twenty minutes with a tape measure and a pencil. Write down:
Reveal depth decides almost everything. Inside-mounted shades and blinds need a flat, straight surface and enough room for the headrail — usually an inch or two, but check the specific product, because old frames are rarely square. A shallow reveal with a proud casing is a natural candidate for an outside mount. A deep-set window with delicate trim is almost always better dressed from inside.
Then check for square. Measure the glass opening at the top, middle, and bottom; if the numbers differ by more than a quarter inch, an inside mount may bind or leave gaps. Measure diagonally corner to corner; if the diagonals are not equal, the opening is out of square, and a shade cut to the smallest dimension will look crooked. On old houses, also note the plaster return beside the casing. A mounting bracket needs solid wood, not just a thin layer of plaster over lath. If the wall is uneven, a thin mounting board painted to match the trim can give you a flat surface without touching the molding itself.
Inside mounting keeps the casing fully visible. It looks tidy, suits almost every era, and keeps light control close to the glass.
Outside mounting gives more coverage and better draft control, but it covers trim. If you go that way, mount to the wall or to a small board above the casing rather than driving screws through the face of the molding. Keep the treatment as narrow as the light situation allows, and consider a color close to the trim so the eye reads it as part of the window rather than a lid on top of it.
A middle path works well on elaborate casings: inside-mounted shades for privacy and sun, plus stationary side panels on a rod placed so the fabric stacks mostly on the wall beyond the window, not over the trim.
One more option is to mount a shade inside the reveal and add a stationary valance or cornice that sits above the casing, not across it. The valance can hide the shade's headrail and still leave the casing's profile visible from the sides. This works especially well in dining rooms and parlors where you want a formal look without burying the woodwork.
If the trim is the reason you bought the house, treat it as a hard boundary. Hardware goes into the wall, the ceiling, or the window jamb — not through the face of the molding.
Sparse and simple: interior shutters, plain roller shades, slim side panels on rings. Heavy swags and fussy valances look out of place. Put color in the fabric, not the hardware.
Interior shutters are the classic choice, but they can be expensive and hard to fit in out-of-square openings. A close second is a plain roller shade mounted inside the reveal, perhaps with a simple fabric valance no deeper than the casing. If you want curtains, use slim panels on rings, mounted at the sides so the fabric covers wall, not wood. Hardware should be small: wrought iron or brass, not thick modern rods with finials the size of doorknobs.
This is the era that invites layering — lace near the glass, heavier drapes at the sides, and often a valance or cornice above. The trick is to layer vertically without covering the casing. Use a sheer inside-mounted shade or lace panel for daytime privacy. Add side panels on a rod that extends well beyond the window, so the fabric stacks over the wall. If you want a valance, mount it to a board above the casing and keep the bottom edge above the top molding. Rich colors, velvet, tapestry, and fringe all fit, but they should frame the window rather than sit on it.
Craftsman trim is often wide, flat, and stained, with a strong horizontal line. Heavy swags look wrong. Choose flat Roman shades, roll-up shades, or simple linen panels. Natural materials — cotton, linen, bamboo, wood blinds — suit the style. If you use wood blinds, mount them inside the reveal so the oak casing stays visible. Keep hardware dark and simple. A stained-wood cornice can echo the trim, but it should be shallow and mounted above the casing, not over it.
These houses usually have simpler trim, but it is still original. Slim horizontal blinds, roller shades, and plain curtains work. Avoid heavy drapery and ornate hardware. If the window is part of a large wall of glass, inside-mounted shades keep the lines clean. If you need privacy, consider a top-down/bottom-up shade so you can cover the bottom half while leaving the upper view and the trim visible.
Hardware is where good intentions go wrong. Original trim is often old-growth wood: dense, dry, and unforgiving if you drive a screw without a pilot hole. It may also be hollow behind the face if the casing was built up from several pieces. Before you drill, press a small awl or nail into the wood where it will be hidden. If it sinks easily, there may not be solid material behind it.
Historic windows are beautiful and leaky. Treatments can help with drafts and summer heat, but they should not pretend to be a sealed wall. The most effective approach is usually a two-layer system: a close-fitting shade for light control and a curtain or panel for insulation and softness. A cellular shade mounted inside the reveal can reduce drafts, while lined side panels add another buffer. Just make sure the panels stack on the wall, not over the trim.
For privacy, consider top-down/bottom-up shades. They let you lower the top to block sightlines from the street while keeping the bottom open for light. Sheer shades or lace panels offer daytime privacy without darkening the room. If the window faces a hot afternoon sun, a solar shade or a lined Roman shade will protect furniture and floors. In winter, open the treatments during the day to let sun in, then close them at dusk to keep warmth inside.
Do not ignore operation. A double-hung window with interior storms needs clearance for the sash to slide. A casement crank needs room to turn. If a shade or curtain blocks the crank, you will stop opening the window. Measure the swing of the sash and the projection of the hardware before you choose a treatment depth.
Historic window trim has survived decades of paint, weather, and changing tastes. With a little planning, your window treatments can be the thing that protects it — not the thing that hides it.
Photo: Jean-Paul Wettstein / Pexels